Tuesday 19 January 2016

AWS: 3. Executing user data scripts at boot time

In the previous post I installed the AWS CLI in order to aid in accessing S3.


Enabling Instance user data script execution on startup


I would expect the script added to the user data section to execute during the boot up time. Generally this is the case, but in this particular case the script will not execute. The reason for this is that scripts specified in user data is executed once at the initial boot time. Launching a new VMs based on the custom AMI with user data is ignored because of this.

All hope is not lost through... because there is a way to enable user data script execution on boot up.

The Windows instances launched in AWS is packaged with a service called "EC2Config Service" which is used to enable advance feature. For more information refer to this.

The EC2 Config Service manages a file called "Config.xml" which is located in "C:\Program Files\Amazon\Ec2ConfigService\Settings" folder. This XML file defines the feature/tasks that are executed at boot time. What I am interested in is the "Ec2HandleUserData" feature that is the set to "Disabled" at the moment. I need to set this feature to "Enabled" so that user data scripts are executed during the next reboot. Once executed this setting is set to "Disabled" automatically so that scripts are not executed during subsequent reboots.

There is another tag called "Ec2SetPassword" which resets the password of the instance during boot up. I have enabled this feature too.  Going forward each instance will have its own password, which is good for security. Otherwise all the VMs launched using the custom AMI will share the same password. Byproduct of resetting the password is that the user data script executes under the local administrator account permissions. Otherwise the user data script executes under the EC2 Config service user.

The base image of the VM needs to be updated once above changes are made. The following screen capture illustrates the features discussed in the above sections.

Contents of Config.xml file (We are enabling Ec2SetPassword and Ec2HandleUserData features)

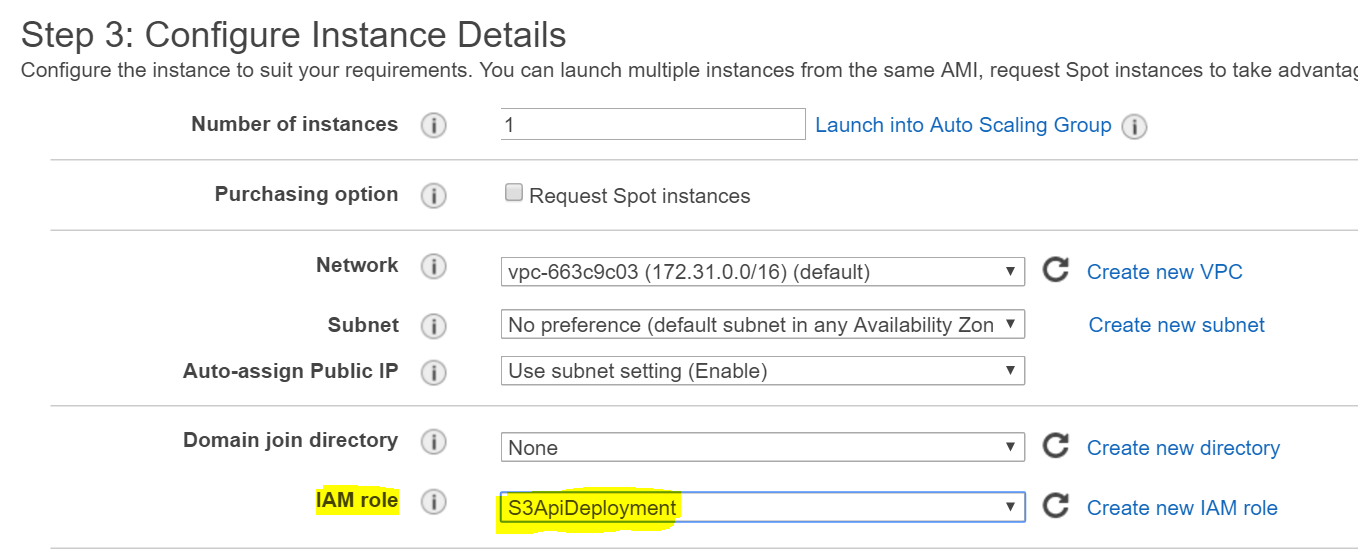
Launching a new VM with boot up scripts


A new VM needs to be launched with the user data scripts. The custom script looks like below:

<powershell>
aws s3 cp s3://simpleapistartup/ c://deployment/ --recursive
cd c:\Deployment
.\ApiService.deploy.cmd /Y -enableRule:DoNotDelete
</powershell>

Adding user data script during launch time


Once the VM is launched successfully (and both system and instance checks passed), I can simply use the following url to access the API service.

http://ec2-54-194-113-255.eu-west-1.compute.amazonaws.com:88/api/products

The domain name in this case is the EC2 public DNS name, followed by the port number (which is where the service is running). As a note, each EC2 instance has a unique DNS name, which means I need a way to aggregate multiple instances to provide a fault tolerance service.

The EC2 Config service maintains a log of the execution of instance user data script. This is located in "C:\Program Files\Amazon\Ec2ConfigService\Logs\EC2ConfigLog.txt" file.

Execution of the PowerShell script
I now can launch multiple VMs with an initial boot up script and access the service without having to setup anything. This is absolutely powerful. What is great about this is that the infrastructure is immutable. In the event an instance crash, I can simply start a new instance.

In the next post I am going to use the AWS SDK to automate the launch process.


Sunday 10 January 2016

AWS: 2. Getting the deployent files to an EC2 instance

In the previous post I created the base image with the requisite services (e.g. IIS, WebDeploy etc) for the simple API service.

Instead of logging into each EC2 instance and installing the application, it would be really nice if I can simply deploy the application on VM on start up. I can then deploy many VMs with the application with little manual intervention.

In this port I am going to do just that!


Moving the deployment files to Simple Storage Service (S3)


The S3 is a highly available and highly durable object storage service on AWS platform. The AWS platform itself use S3 as a backing (e.g. log files, backups).

The first step is to create a bucket and upload the files to this bucket. I have called this bucket "simpleapistartup". I can simply use the "Upload" button to upload the files to the bucket.

The WebDeploy packages uploaded to S3

Copying the installation files from S3 to EC2 instance


The files in the S3 bucket needs to be copied to the EC2 instance on startup. In order to copy the files, the EC2 instance must have access to the bucket. The recommended solution for accessing the bucket from EC2 instance is to create an Identity and Access Management (IAM) role and associate the role with the EC2 instance. The IAM roles allow AWS resources access to other resources without having to explicitly provide access or secret keys.

The IAM role can only be associated with an EC2 instance at launch time and not when it is in running state.

I have created the role "S3ApiDeployment" that has full access to S3 and associated it with the new instance.

Associating the role when launching a new EC2 instance

The next step is to provide the initialisation script to download the files from S3 to the C:\Deployment folder in the EC2 instance.

The AWS Command Line Interface (CLI)


The AWS CLI is a command line based interface for developing scripts to execute against the AWS Platform.

The first step is to download the AWS CLI from here. There are multiple flavours and I have chosen the CLI for Windows. Once installed I can execute commands such as the following to access S3.
  • aws s3 ls - lists all the buckets from S3


The plan is to run a script at VM boot time to download the files from S3. The following script copies the "simpleapistartup" bucket content including subdirectories to c:\Deployment folder.
  • aws s3 cp s3://simpleapistartup/ c://deployment/ --recursive

EC2 User data


The installation script is passed to the an EC2 instance through Instance User data. The User data is set during an EC2 provisioning stage. See the following screen capture.

Setting initialisation script through User data
It is important that "As Text" radio button is selected because the content is base64 encoded when transferring to EC2.

The AWS CLI script needs to be wrapped in "<script>" or "<powershell>" tags. See the following.


I decided to use "<powershell>" tag because I plan to include Powershell commandlets in the future.

OK!, this is enough for this post. In the next post I will launch an EC2 instance which will run the above script to copy the deployment files from S3.

References:

Monday 4 January 2016

AWS: 1. Creating a base image to make deployment faster

In the previous post I deployed a WebAPI service to an EC2 instance and accessed it externally.

The Windows VM image (Amazon Machine Image - AMI) I used did not have Internet Information Service (IIS) or WebDeploy installed. I had to enable or download these features or install.

What IF I needed anther VM to deploy the same application. Then I need to follow the same steps to install the components and features. This is not a very scalable process. The solution is to create a base image or golden image. Then I can create multiple VMs using the same image.

Creating the base image


The EC2 Dashboard provides the facility to create an image based on a running or stopped EC2 instance.
Creating the base image
The "Image" selection in the above menu allows me to create an image. The process to create the image can take few minutes and once created it appears under "Images"/ AMIs side menu.

Base image location

Launching a new VM using the base image


The base image is available under "My AMI's" and can be selected during the EC2 launch process.

Selecting the base image during EC2 launch
 I can follow the same steps and deploy the application without having to install any components.

Successful deployment
The deployment is successful!.

Now the base image is ready and I can deploy the application very quickly. In the next post I am attempting to make this process a lot faster. (Automation!)